
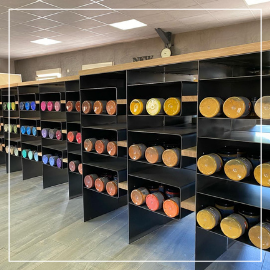

How to make your own limewash ?
The use of lime dates back to Greek and Roman times, when it was very widely used, particularly as a construction mortar or decorative render. Frescoes, bridges, cathedrals and, of course, the famous Leaning Tower of Pisa bear witness to lime’s durability over time.
Lime is sold in paste or powder form and is characterised by its very fine particle size and immaculate whiteness, which gives it a beautiful luminosity. It can be coloured with natural or synthetic pigments. With the addition of admixtures, it becomes lime paint, commonly known as limewash. To learn more about limewash (application, substrates, colours, prices, ready-to-use products vs. homemade recipes), you can read our article Everything you need to know about limewash.
Here, we will focus more specifically on DIY. Lime milk, eau forte, patina, burnished limewash, stucco, marmorino, tadelakt... There are many decorative lime techniques and a wide variety of recipes. The “best” recipes are kept secret by professionals, who have their own preferences when it comes to certain ingredients, but here are a few tips before you start creating your own formulation.
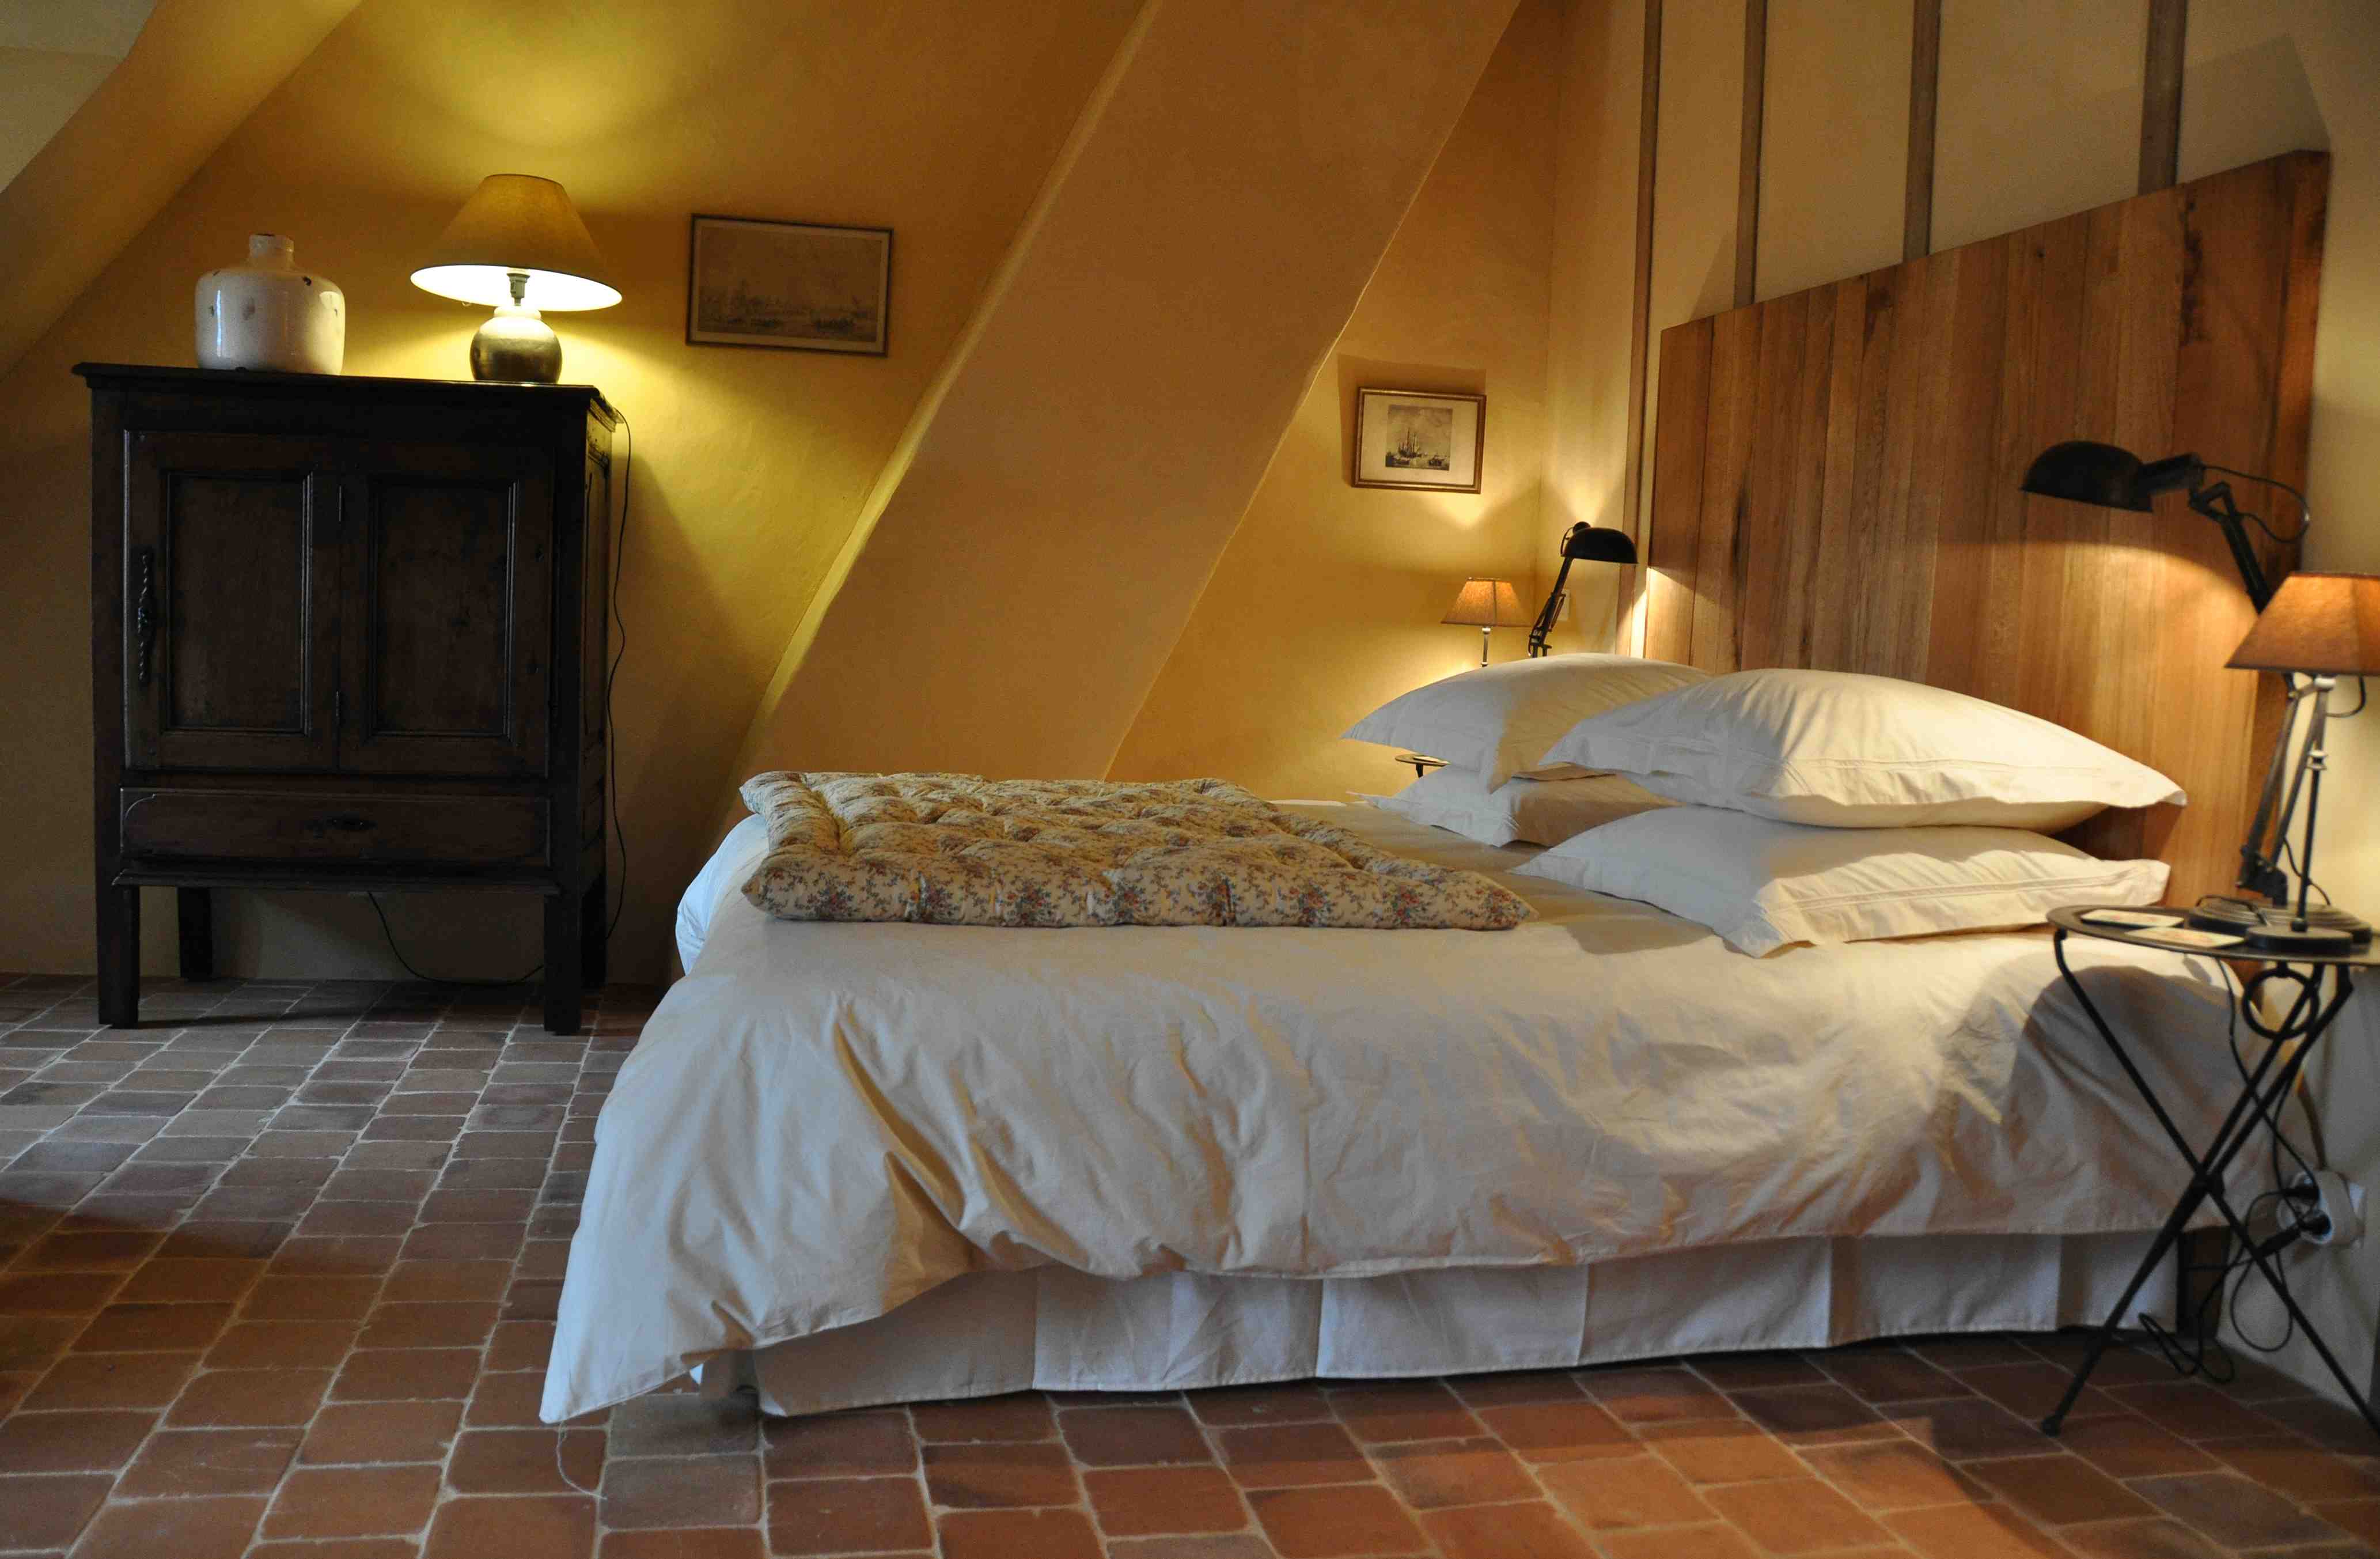
Photo sent by domaine le Ris du Feu
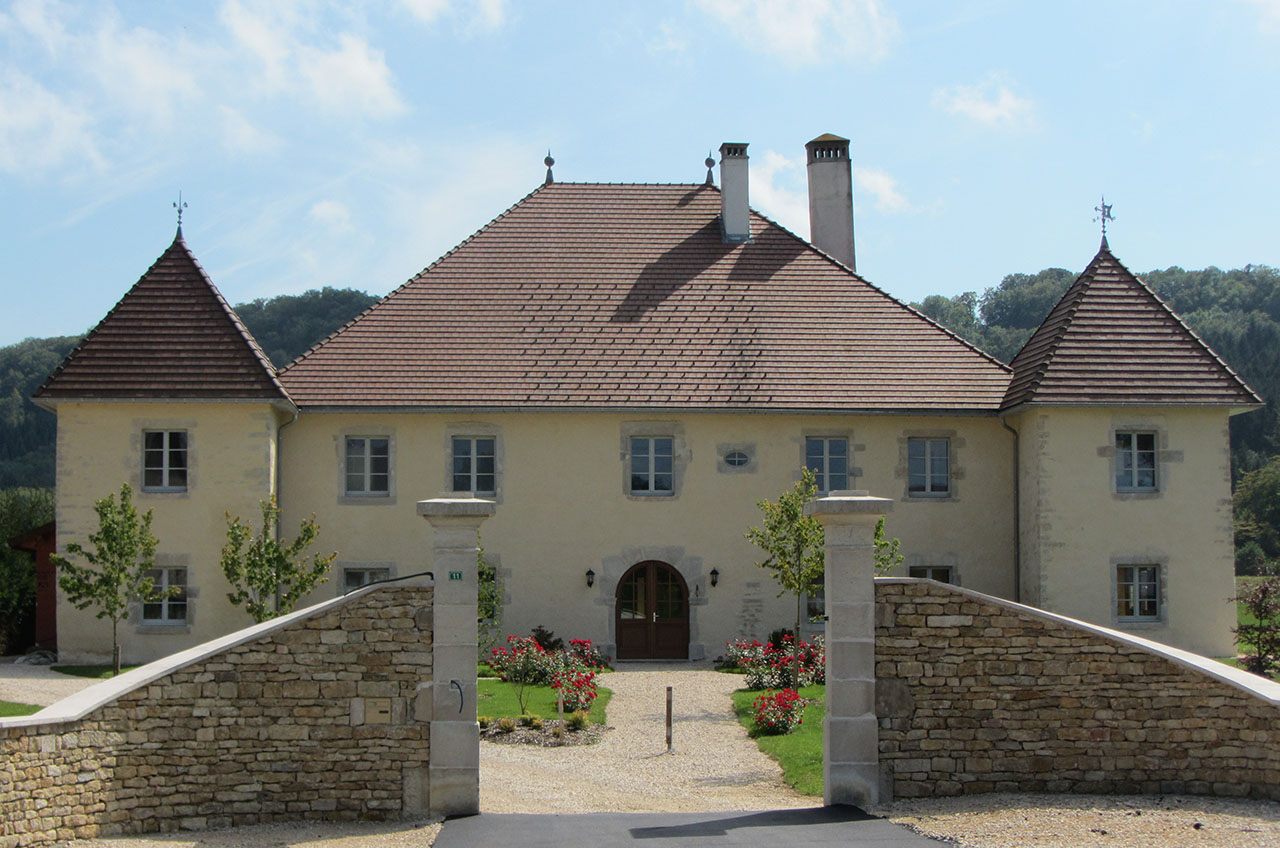
Photo sent by le Relais des Deux tours (limewash with ocre jaune JFLES + sienne naturelle)
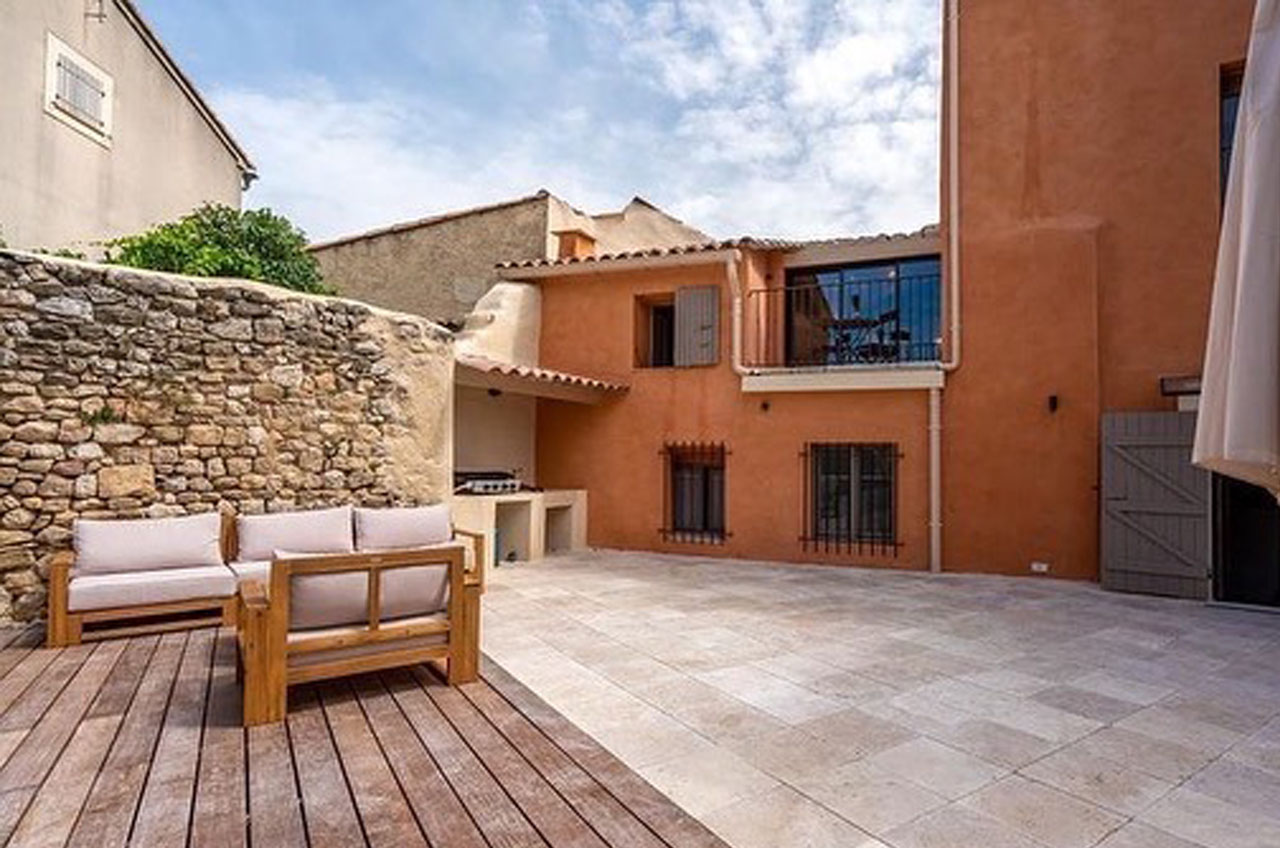
Realization & photo sent by Claudine Espariat, ocre jaune & rouge limewash
What should I put in my limewash ?
- The basis of everything, the binder : lime
The binder is the basis of any preparation. In this case, lime acts as a binder and can be used in powder or paste form. Paste has the advantage of not producing dust, but it is easier to measure pigments and admixtures when using powder.
They are what allow your imagination and creativity to run free. Natural pigments, ochres and earths provide warm tones and incredible UV resistance for exterior work. Synthetic pigments offer a palette ranging from bright yellow to blues, purples, pinks, more or less vibrant greens and deep black. However, keep in mind that as lime is a white binder, the colour of your powdered pigment will be considerably lightened in your final result (by approximately half). For more information, see points 3 and 4 of our article Everything you need to know about limewash. If your limewash contains admixtures (as our Badisof et Badisof Plus do), the dosage ranges from 0.1 to 20% for natural pigments and from 0.1 to 15% for synthetic pigments. Otherwise, we recommend not exceeding 15% for natural pigments and 5–7% for synthetic pigments. The percentage is calculated in relation to the total volume of your mixture. It is therefore necessary to know exactly what you are going to put into it and in what proportions before choosing your pigment and its dosage.
- The wetting agent
It helps the pigments disperse more easily in the lime (particularly synthetic pigments). Generally, a few drops of washing-up liquid are sufficient.
They are used to improve your limewash. You can incorporate :
* A fixative : it helps fix the pigments and promotes the setting of the lime. There are natural fixatives such as alum salt, casein, rabbit skin glue, latex, gum Arabic, linseed oil and less natural ones such as acrylic binders or tapestry glue.
* The black soap :it makes the mixture more fluid and gives it a slight satin effect. Essential for tadelakt and the flour paint recipe.
* The methylcellulose : a water-retaining agent, it extends the working time and improves the durability of the limewash.
They strengthen the limewash and make it possible to create more textured limewashes. These include in particular :
* Marble powders : fine, medium or coarse, they can be used to create stucco, marmorino, tadelakt, burnished limewash, etc.
* Calcium carbonate or Meudon white : these are limestone-based fillers that give the limewash a creamier consistency..
- Finally, an essential element, the diluant : water.
What tools will I need ?
* A brush : limewash is applied with a good-quality pasting brush. Choose a fairly wide one with natural bristles. Wash it with soapy water. It will last for years and through many projects.
* A trowel : to smooth or create a stucco finish on your limewashes and renders, you will need a small, flexible stainless-steel trowel.
* A sponge.
* A wide spalter brush or dusting brush.
* An electronic scale for your colours tests.
* A large container.
* An electric mixer.
* A kitchen measuring jug or an emply tin can.
Is my substrate suitable ?
Preparing the substrate is essential. Lime will only adhere to porous surfaces. For any unsuitable or unfamiliar substrates, we have the solution: apply a primer. Depending on your needs, you can opt for Sofadher, Sofix, Rénodress or Tradichaux (available under the “Primers” section).
Which technique should I use for which type of finish ?
- Simple limewash or brushed limewash :
It is applied with a brush in criss-cross coats, with a more or less liquid consistency. Matt and opaque, it provides a nuanced finish that is more or less textured depending on its composition.
1) Colour your lime with pigments (carry out tests beforehand because, as it dries, the limewash will lose approximately 50% of its initial colour).
2) Add your admixtures from the list of suggested ingredients (approximately 100 g per 1 kg of lime).
3) Mix the ingredients dry, then dilute as you see fit. We recommend 1 volume of your preparation to 2 volumes of water for the first coat, and 1 volume of powder to 1 volume of water for the second coat, which will become opaque as it dries.
- Fine floated limewash :
It is well suited to minor imperfections in substrates and can be applied to a thickness of approximately 1 mm.
1) Colour the lime with pigments (carry out tests beforehand because, as it dries, the limewash will lose approximately 50% of its initial colour).
2) Add the admixtures (approximately 100 g per 1 kg of lime) + the filler.
3) Mix the ingredients dry, then dilute 1 volume of this preparation with approximately 1/2 to 1 volume of water. You should obtain a paste that is neither too liquid nor too stiff, “ready to spread”.
4) Apply this preparation to the substrate from bottom to top using a float.
5) Allow it to dry so that the limewash adheres to the substrate, then, using a damp sponge or sponge float, gently float the limewash in small circular movements. The lime grains should stand out, creating a textured surface similar to a fine render.
- The smoothed limewash :
These have been in the spotlight and very popular for several years. Soft to the touch, their delicate nuances create cosy atmospheres that fill interior design magazines.
1) Proceed in the same way as for the fine floated limewash.
2) Once the lime grains stand out after floating with the sponge, you can then burnish your limewash with a stainless-steel trowel, crushing the lime grains. Make small, short and quick movements. If your limewash dries too quickly, you can wet your trowel by dipping it into water with a dash of liquid black soap.
3)You can apply wax once the limewash is dry and polish it a few days later. Your limewash will be shinier and protected, but bear in mind that wax darkens the colour.
- Eau forte or fresco limewash :
The disadvantage of the whiteness of lime can become an obstacle when you want to obtain very bright colours. Indeed, mix a red pigment into white lime and you will obtain a more or less intense pink depending on the pigment used. With limewater (also called “eau forte”): if you want red, red is what you will get! It is the water that was used to slake quicklime and is therefore still loaded with active lime compounds, but no longer has the white colour that inevitably makes the colourant paler. Its transparency therefore makes it possible to create very bright tones without blocking the substrate. You will thus obtain a colour much closer to the far brighter colour of the powdered pigment.
1) Prepare a simple limewash and apply it in two coats with a brush.
2) Allow it to dry for 4 to 5 hours, then mix the pigment of your choice with limewater (approximately 1 volume of pigment to 10 volumes of limewater).
3) Apply this coloured water over your fresh limewash.
The decorative result is reminiscent of the velvety finish of Spanish haciendas and beautiful Italian country houses.
You can also create attractive simple patinas by diluting your pigment in between 10 and 30 volumes of limewater. Apply this preparation over a limewash in a lighter shade than your patina, or harmonise two colours by applying a patina in one colour over a limewash in another colour.
These techniques can also be achieved by colouring wax or by creating a linseed-oil glaze.
- Patina or lime milk :
It makes it possible to create transparency and play with colours and nuances.
1) Prepare a simple limewash in two coats and allow it to dry thoroughly.
2) Apply a third coat by diluting 1 volume of powder in 10 to 30 volumes of water.
3) Apply this preparation lightly with a wide spalter brush or dusting brush, without completely covering the limewash underneath.
DIY isn’t for you ? You’re short on time, and the idea of going through a long series of tests doesn’t really appeal to you ? Discover our ready-to-use limewashes for a beautiful result that is easy to achieve, and read our article Everything you need to know about limewash to find out more.